Blog 4
BLOG 4
Part2: Quail Egg Drop Challenge

This was our finalized design for the egg drop🥚 challenge. The parts that each of us took individually were:
1) Outer Case (Tristan)
2) Inner Case (Me)
3) Impact Absorber (Justin)


My initial design for the inner case consisted of two parts:
1) the box📦
2) the lid
However I did not take into account that Tristan's part was supposed to be direct fitting hence my lid for the inner case box was not necessary 😅
Create a SDL file for 3D printing:
1) Finish designing design
2) Click on bodies and select the respective body you need to print
3) Right click and click "save as mesh"


4) Open Ultimaker Cura 5.0.0
5) Select the folder icon at the top left corner and find the body to print
6) Click on the top right bar to input the infill you need and support
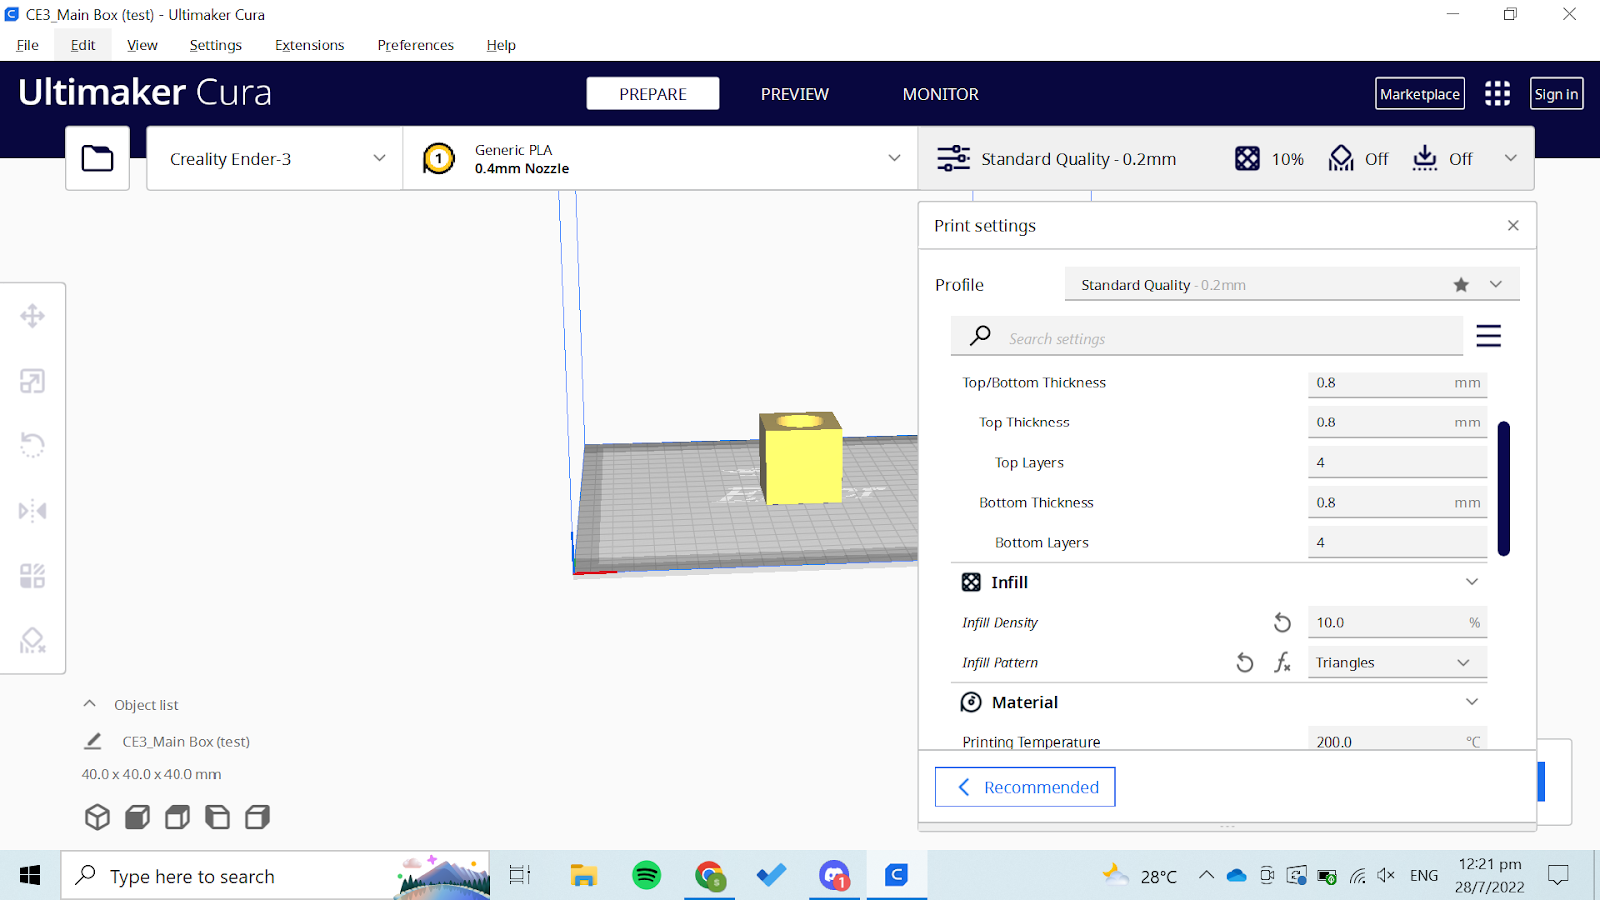
7) Click on slice and you can view the printing time needed

8) Place thumbdrive in and save to disk
9) Place thumbdirve into printer and start to print
Preparing the 3D printer:
1) Prepare filament needed
-Ultimaker (2.85mm)
-Creality Ender 3 (1.75mm)
2)Turn on printer
3) Insert filament into heater before turning it on
4) Increase nozzle temperature
5) Load filament
6) Select "print" and your SDL file and start printing
After completing all our 3d prints, we assembled all our parts together and dropped the egg with Tristan standing on top of the chair because we wanted to ensure that we dropped the egg >2m. Thus we ended up dropping the egg higher than the required height needed. Our egg survived the drop! (As seen from the video above with Tristan doubting our design) .🙄
This video is to prove that the egg we dropped was raw :")
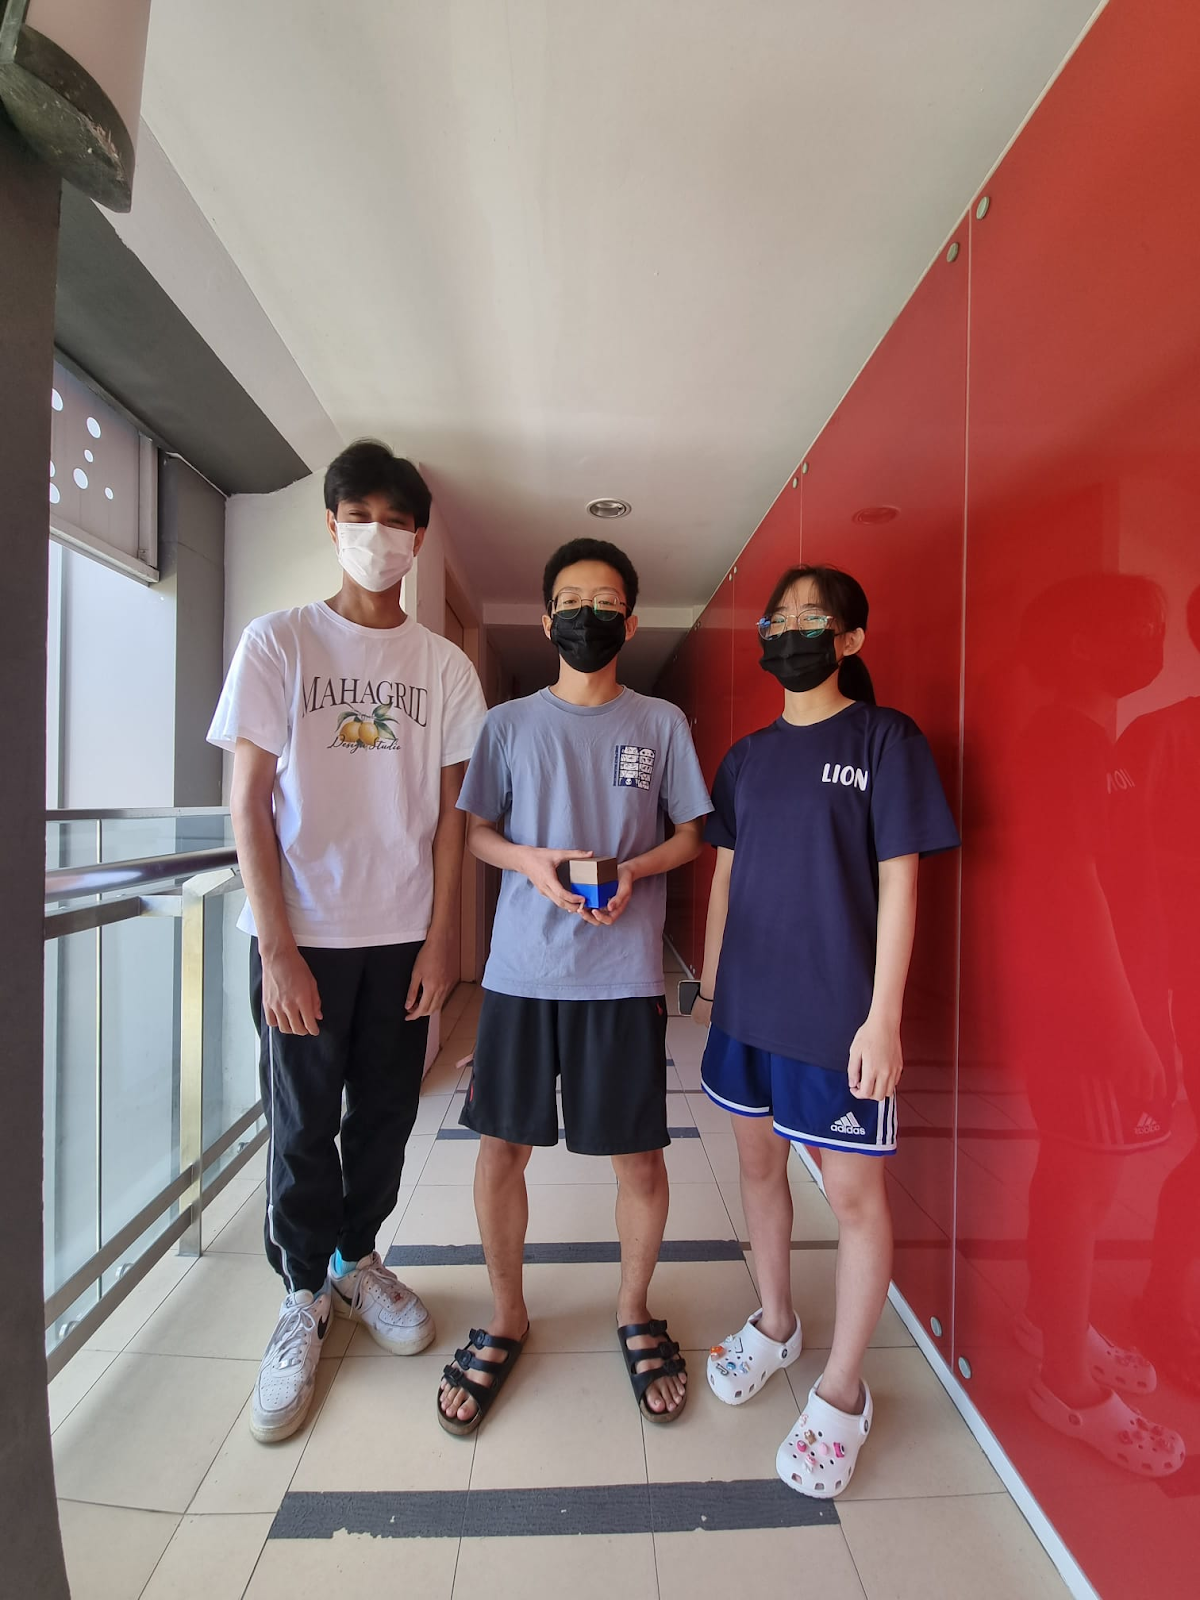
Hero shot with the entire group with our small product in the hands on tristan.
Hero shot with the entire group with our small product in the hands on tristan.
Reflections
Through this practical I learnt many things about 3D printing and that 3D printing is not as scary and hard as it seems to be.
Through this practical I learnt many things about 3D printing and that 3D printing is not as scary and hard as it seems to be.
Comments
Post a Comment