Blog 3
Blog 3
-Week 5
-Practical 2
Week 5 CAD Drawing
We started off week5 by learning how sketch. Afterwards we learnt about 1 and 2 point perception drawings.
One point perspective: 1 vanishing point
Two point perspective: 2 vanishing points
Here are some of the drawings we did in class. After Dr Noel did hand movement exercises, I learnt that in order to draw neat and straight lines we cannot move only our wrists but our entire arm.


Here is my attempt to draw a coffee maker using the method we learnt. (clearly not a good artist at all)

(this somehow took me really long, it doesnt look the best but I tried)
For our finalised product, my team agreed that we should do a coffee maker that uses rechargeable batteries as it is a hassle having to find a plug to operate a coffee machine. Below is a sketch of it we came up with for now.

Afterwards, we learnt about computer aided drawings with Fusion360.
Some of the skills I have learnt from getting tasked to make a photoframe
-Filleting (rounding the edges of the photoframe)

-Offsetting
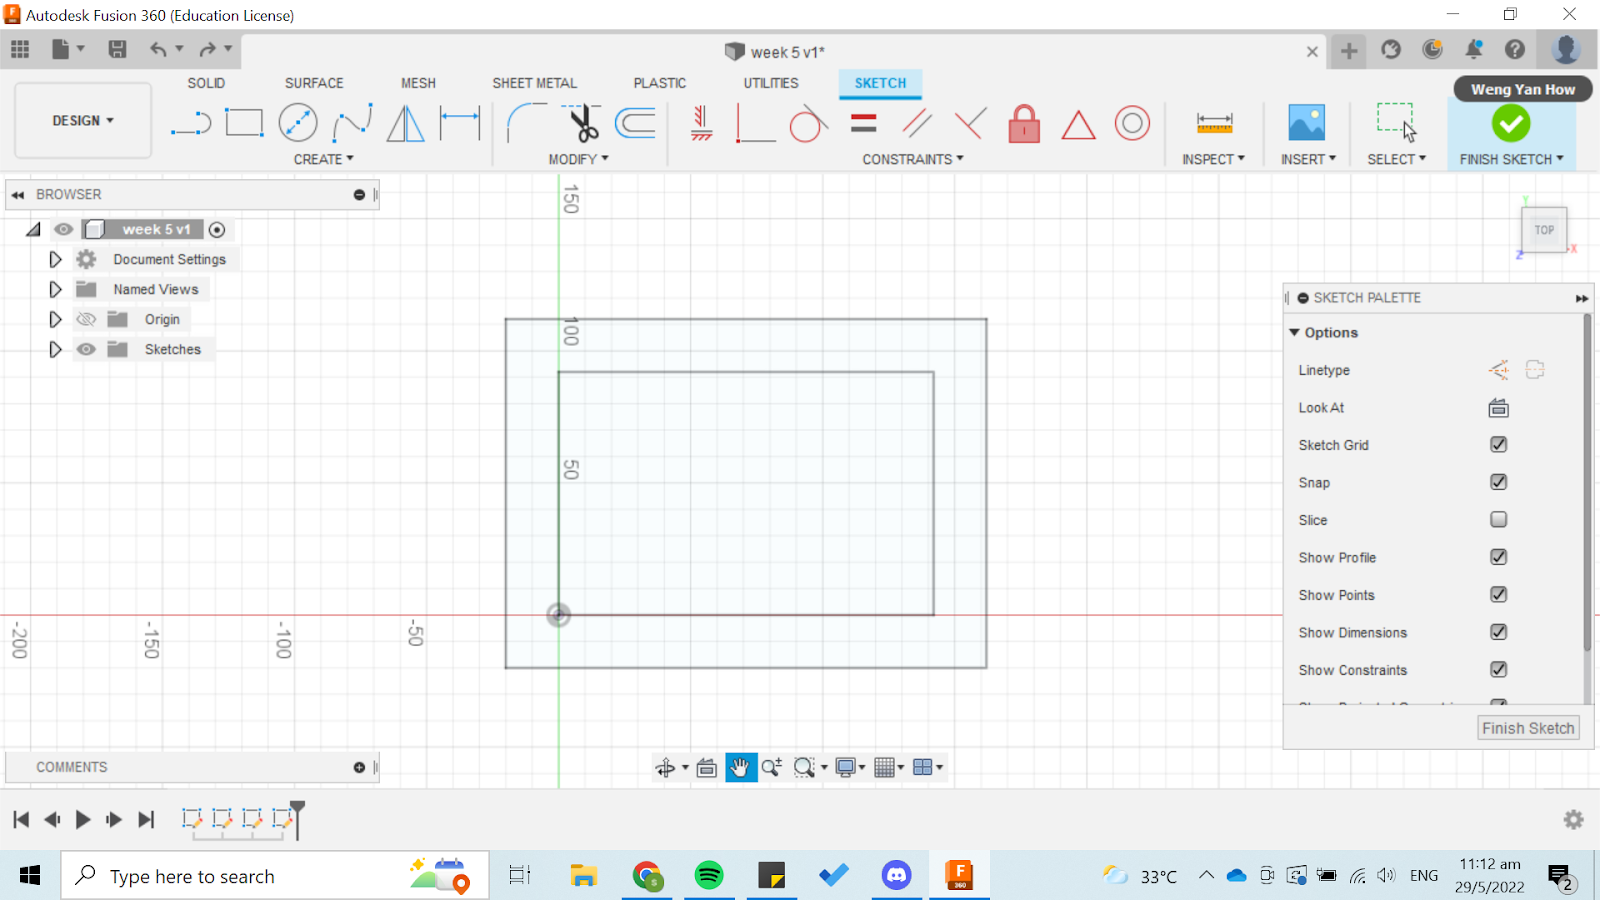
-Pulling (designing the thickness of the photoframe)

-Projecting

Below is the finished photoframe

Besides the photoframe we were also tasked to make a keychain. Here is my finished product.
After learning how to use Fusion360, I realised that it is harder than it looks. There were problems I encountered along the way like filleting the edges of the photoframe together to make a rounded edge. I took around 4 hours just to figure out where I went wrong. For the keychain, I had difficulties trying to extrude the different sketches and that took me awhile to figure out as well.
Practical 2
For practical 2 we had to learn about cardboard and its different types of joinery. We then had to put our knowledge to good use by building something out of cardboard. My team decided to build a train.

( My amazing team :) )
We started planning the dimensions and how the train will look like. Below is the design we came up with.

After we agreed on the dimensions we think were suitable, Isabelle started to draw the main train carriage out while the rest of the team drew the wheels as we needed quite a number of wheels.

(Isabelle drawing the dimension of the train carriage)
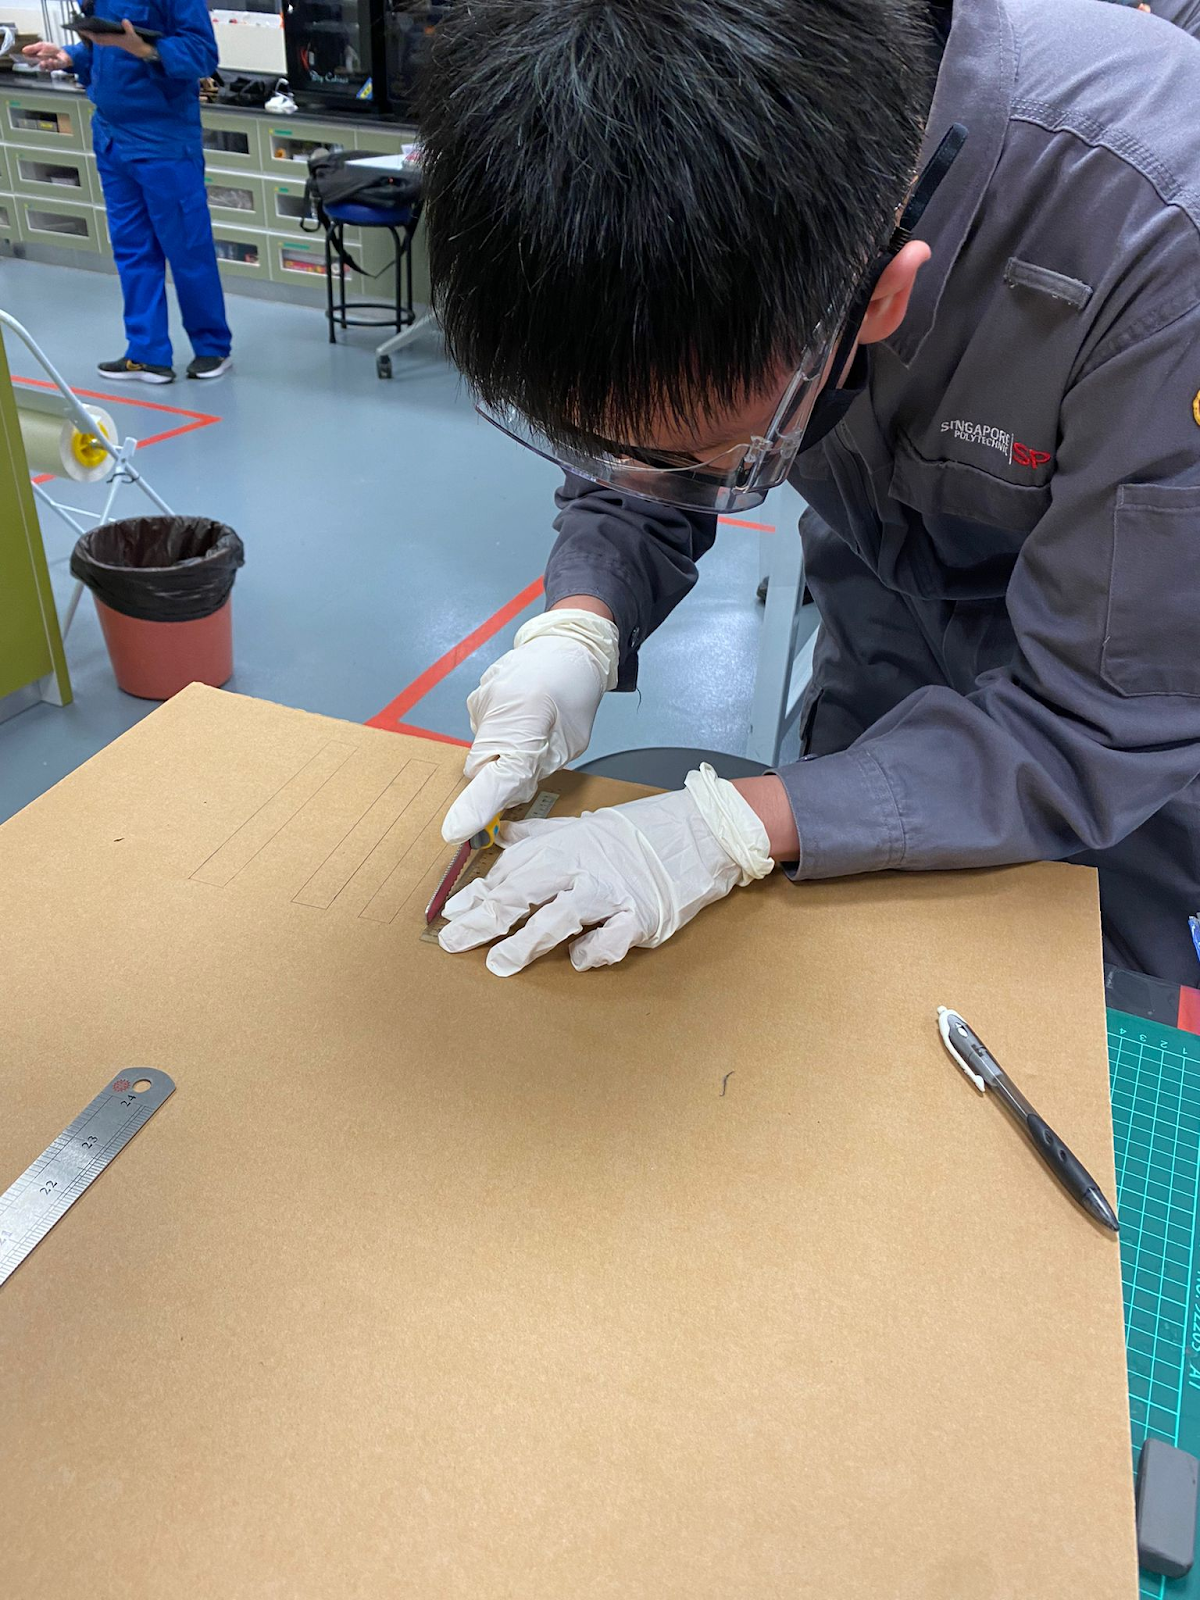
(Cutting the dimensions for the wheels which were 2x16)
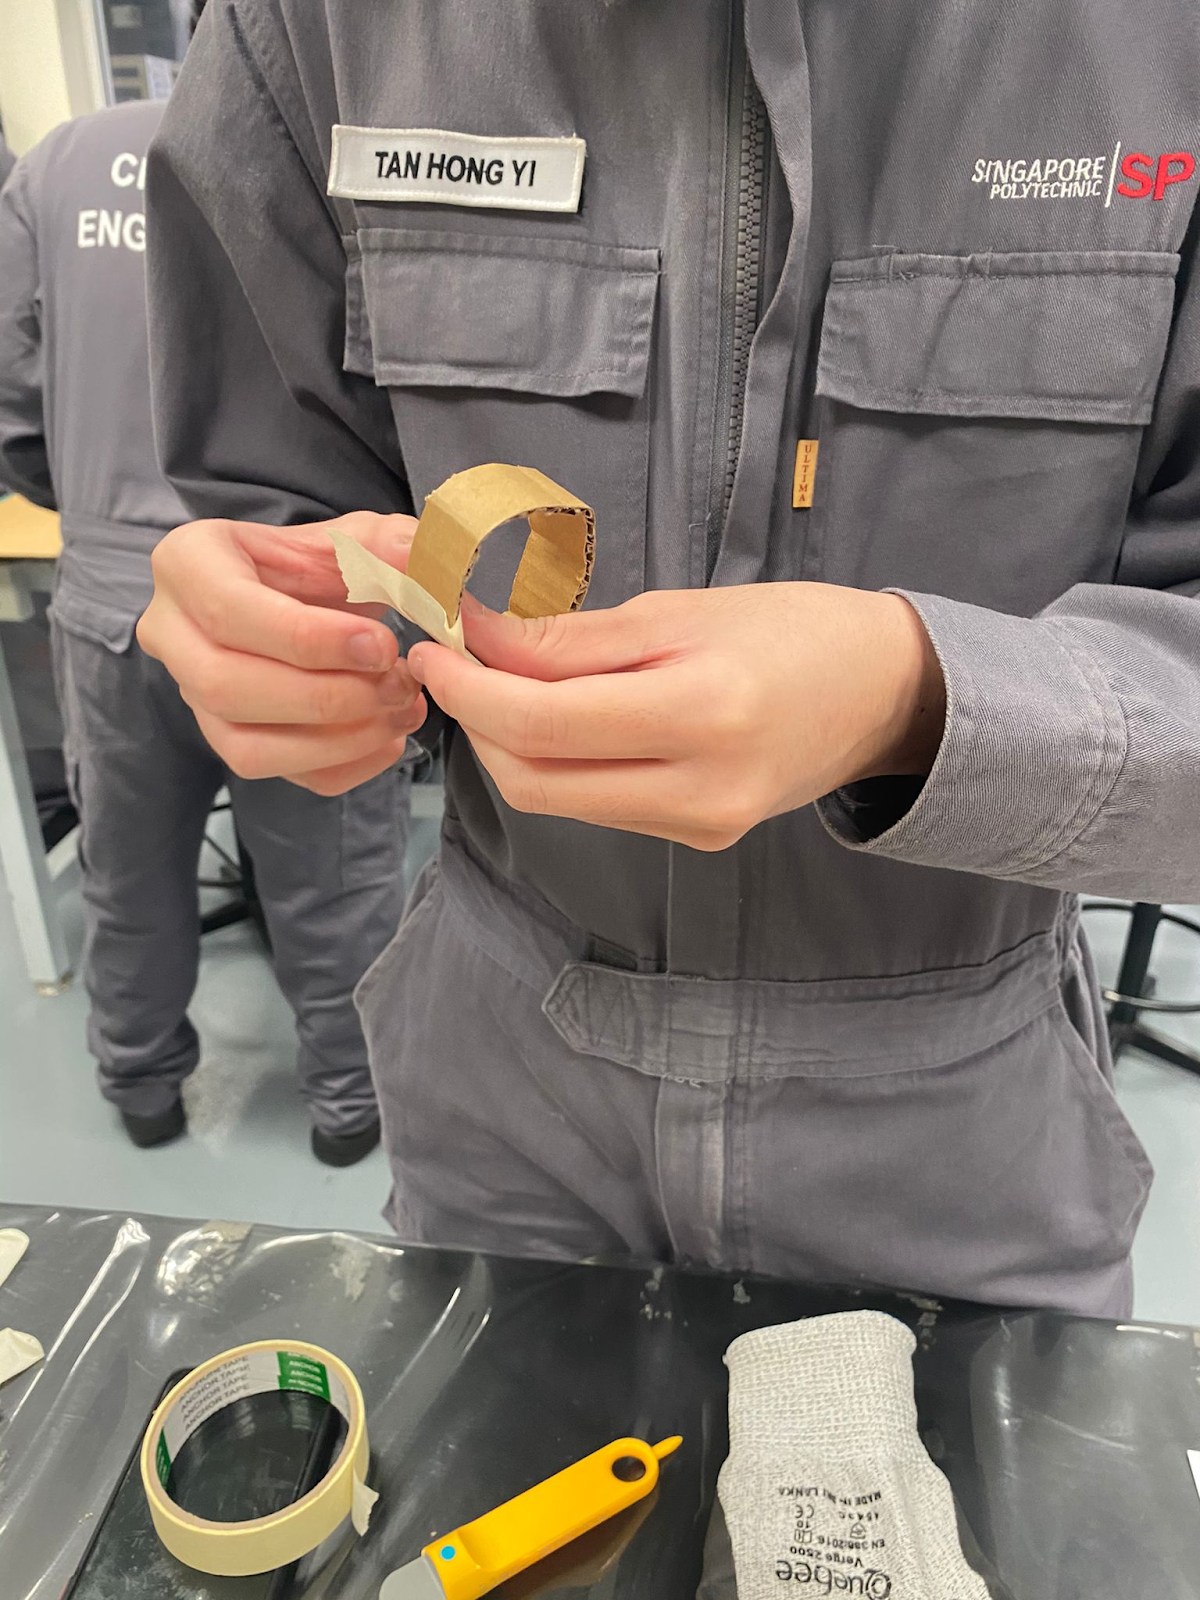
(We used tape to connect the wheels together)
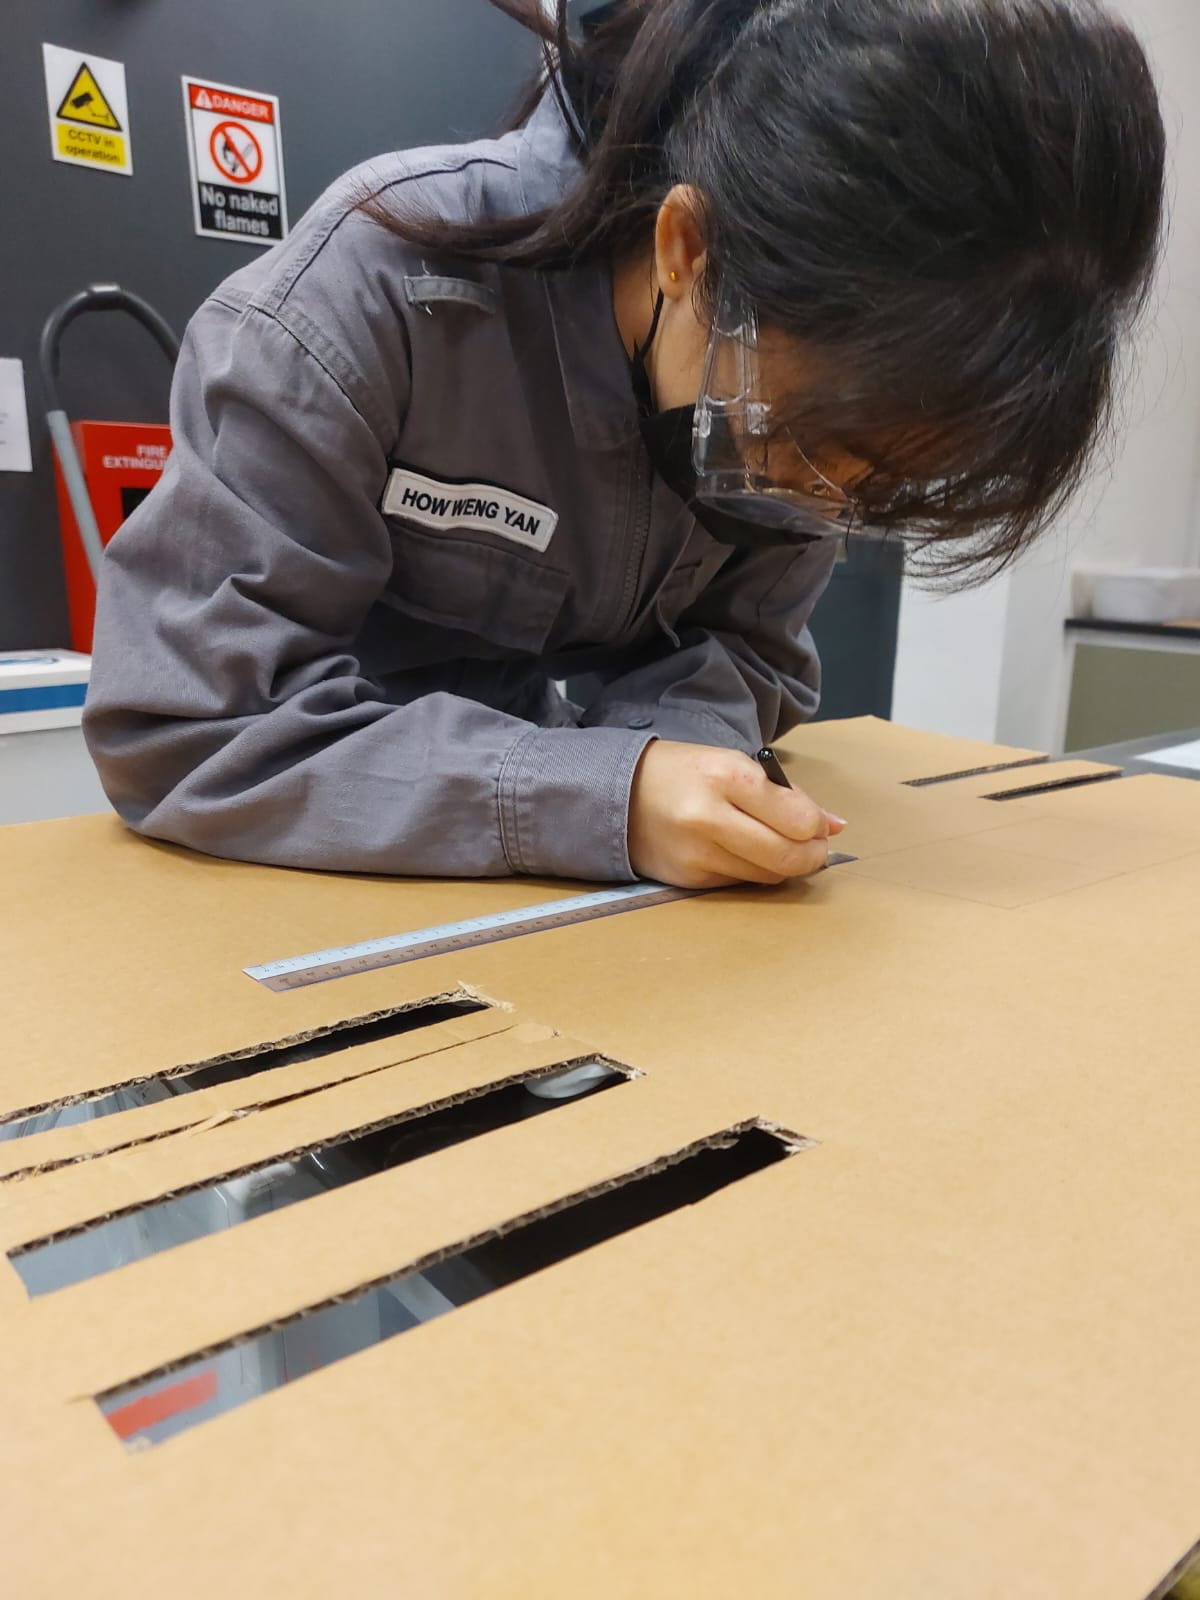
However, after Isabelle drew the train out on the cardboard, we realised that it was too big and we had to scale down the dimensions for our train.
Afterwards, we decided that only having a main carriage was pretty lame and we decided to add a second compartment, so I left Hong Yi and Justin on the wheels while I went to draw the second compartment of the train. The dimensions of the second compartment is 10x10.
After drawing the second compartment, we decided to use strings to put it together

Once Isabelle was done drawing the main carriage, she went on to connect the wheels to the bottom of the main carriage with brass fasteners.

Moving on to the main carriage, we used L-braces on the inside of the carriage to hold it together

We decided to add windows to the main carriage by using zip ties. This allowed the windows to be open or closed by moving them up and down.

Afterwards, we connected the main carriage to the second component by using skewers. We also included a slot and tab for a mini flag on our second compartment.

(Our final cardboard train!)
The types of cardboard joinery my group used for the train
-Skewers (connect second compartment to main carriage)
-Ziptie (windows for main carriage)
-Flanges (on top of main carriage)
-Brass Fastener (connect wheels to main carriage)
-L brace (hold main carriage in place)
-String (second compartment)
-Slot and Tab (flag)
What we LEARNT
Through this practical I learnt about the different types of cardboard joinery and the importance of cardboard. Cardboards are important as it easy to fold and thus allows us to create any kinds of shapes we need. They also play an important role in prototyping. At the end of the lesson, Dr noel showed us a cardboard Pegasus that was made by cardboard professionals. We realise that the joinery used to make the Pegasus was mostly slot and tab. It was very clean and neat unlike our cardboard train.
Another lesson I learnt would be how important planning is. Before the practical, we only roughly stated some ideas on what we wanted to build, therefore we only came to a decision on the day of the practical. This led to time being wasted during the practical as we needed to plan and come to a decision. Due to us not planning ahead, we wasted precious time cutting the 4 squares for the windows. We only realised afterwards that we could have just used the squares we cut from the main carriage instead. This was one perfect example of the importance of planning. In the future, I would plan and think ahead, so time would not be wasted.
Comments
Post a Comment